|
This page details the special preparations that the support astronomer
needs to do for MOS setups, in the afternoon of the start of the run.
Grism installation is described in the general spectroscopic staff
instructions.
Mounting the slit masks (i.e. MOS plates)
Nowadays, MOS runs typically involve many masks per run, and only 3 or
4 masks are used per night. As the support astronomer is only around
the first night, it is practical to teach the observers how to mount
the masks by themselves.
For this we prepare 3 or 4 place-holder slots in the aperture wheel,
called MOS_mask_1, MOS_mask_2, MOS_mask_3 and MOS_mask_4. These
placeholder names can be selected using the EditSetup program
(usage: editsetup).
Make sure to empty the slots that are to be used for MOS-masks, and to
show the observer how to put in the masks. Note that the observer
should not have to use the EditSetup program.
Even though during a run different fields will correspond to a single
place-holder name, the unambiguous identification of the masks will
always be present in the RA and DEC FITS headers.
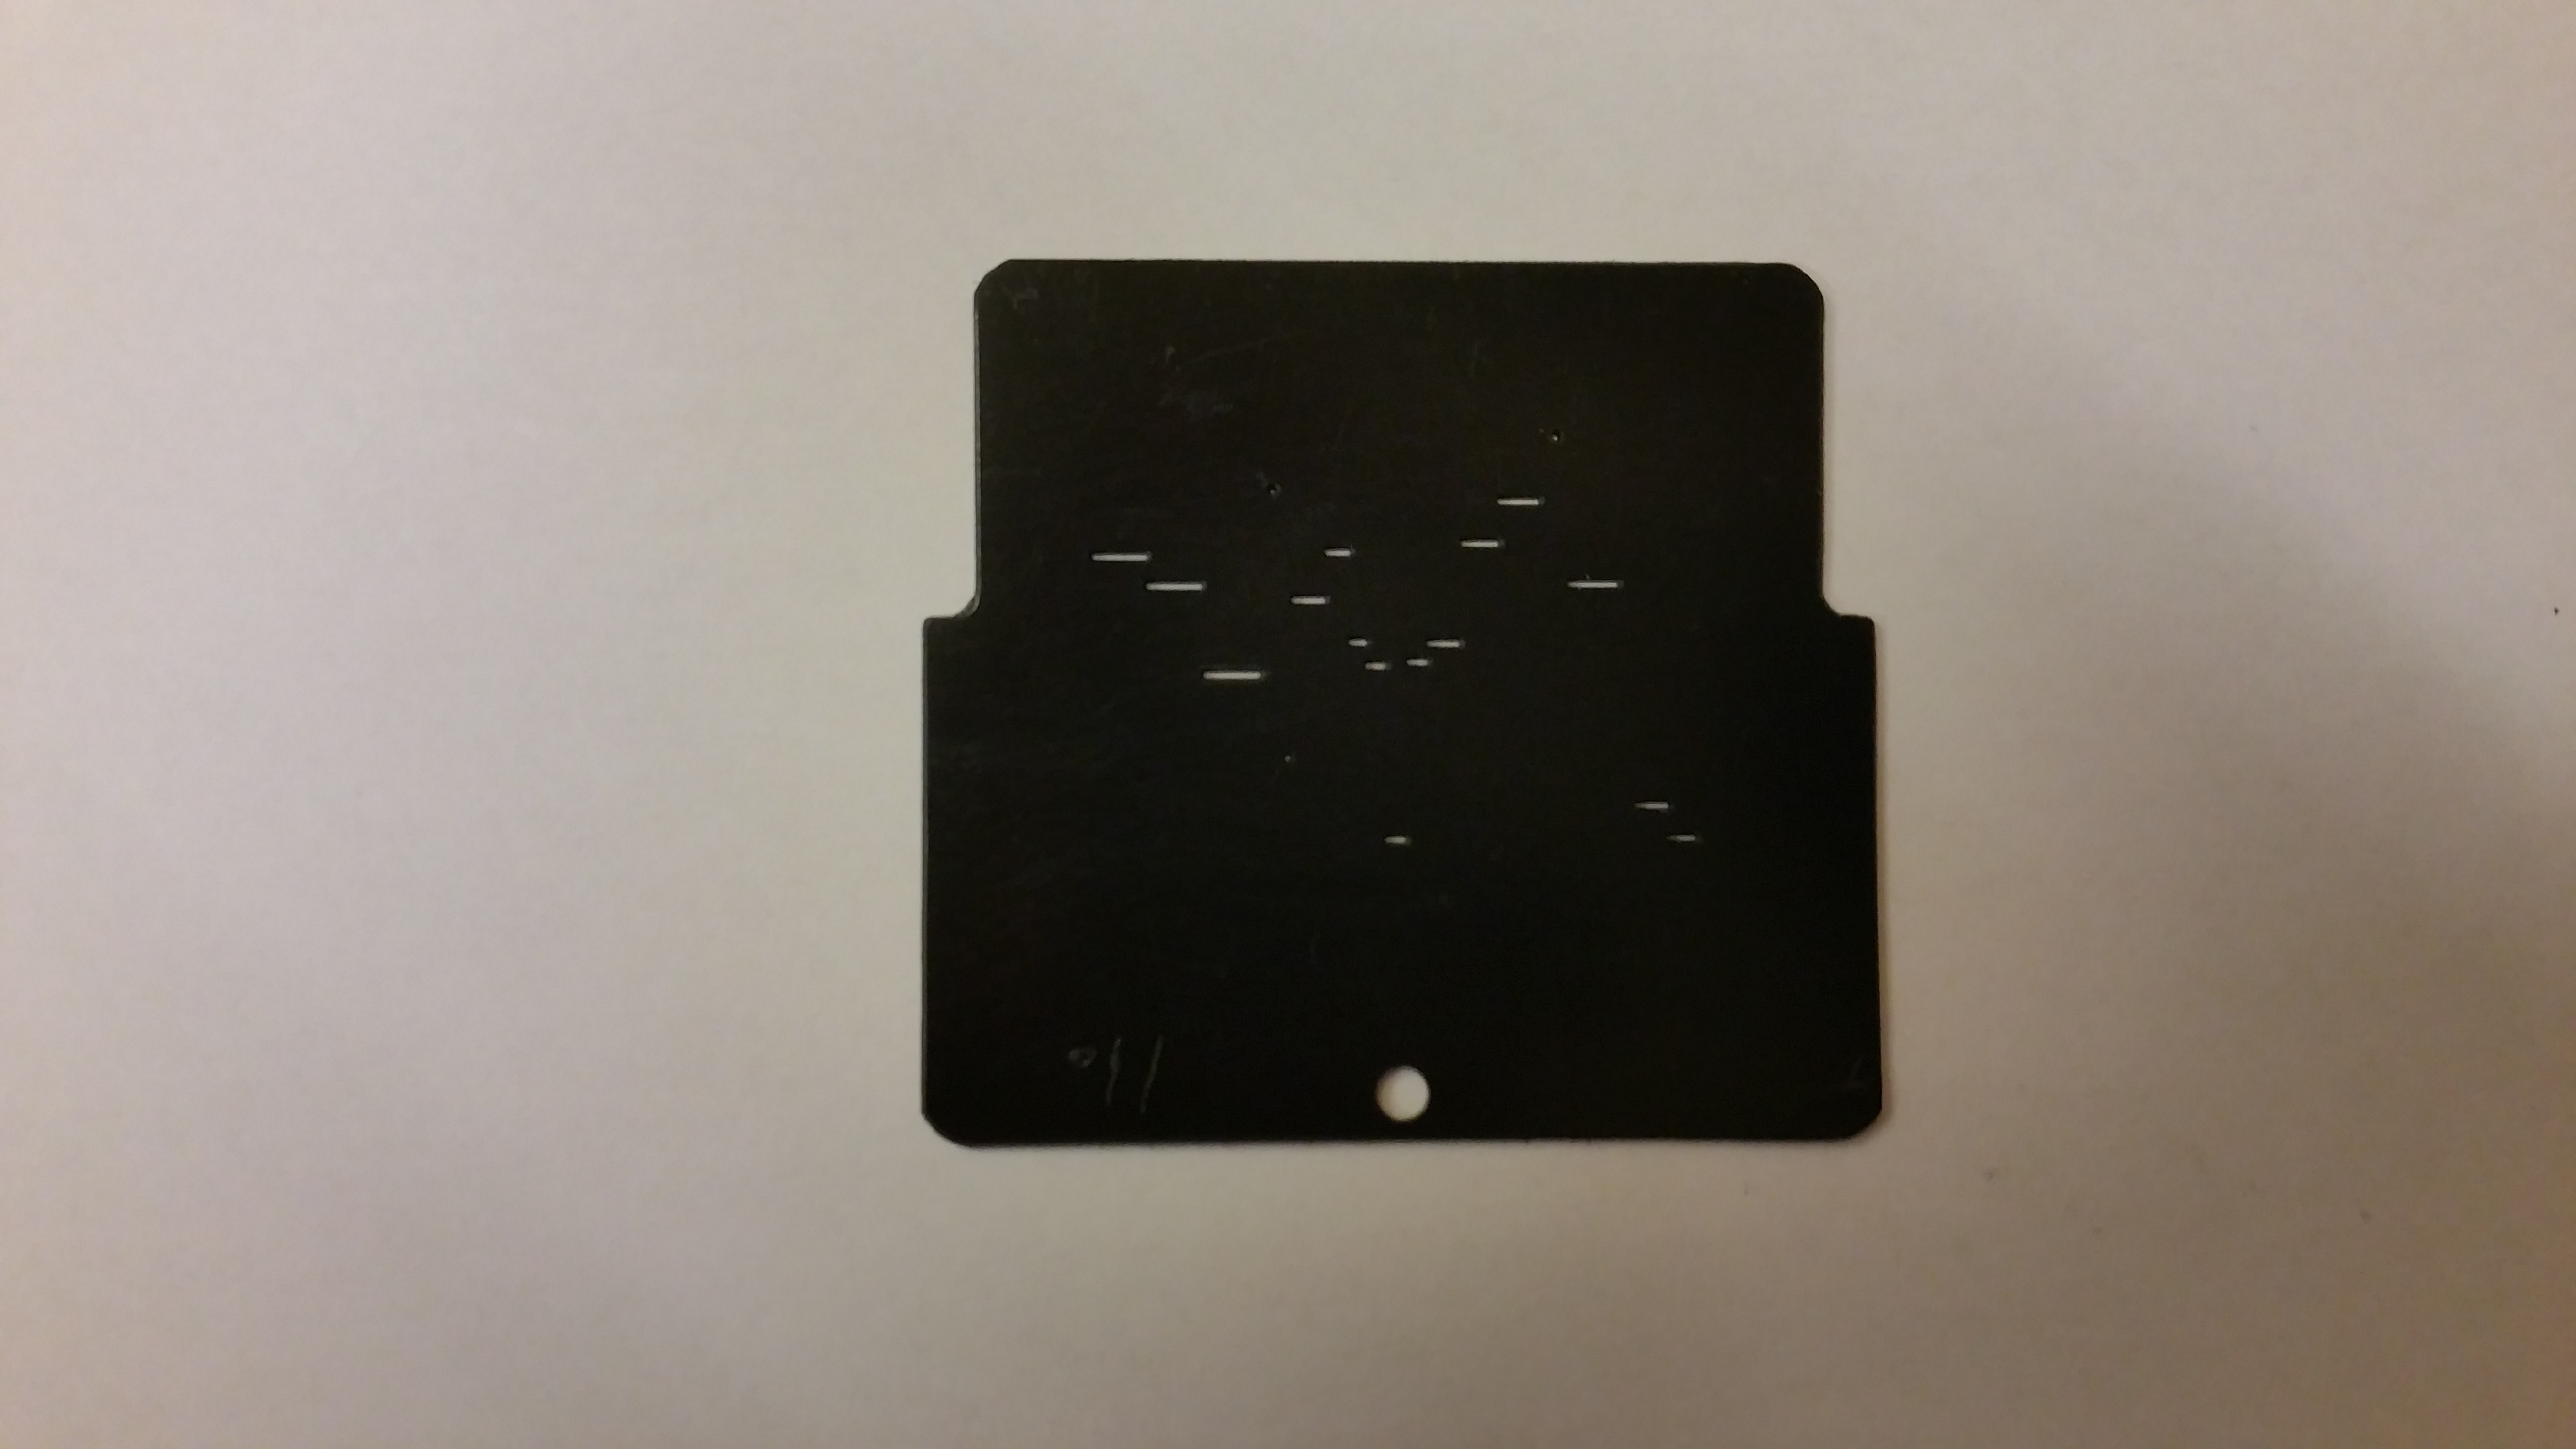
Mounting masks cut at TNG
The old Copenhagen/NOT masks were about 0.9mm thick, made of black
plastic.
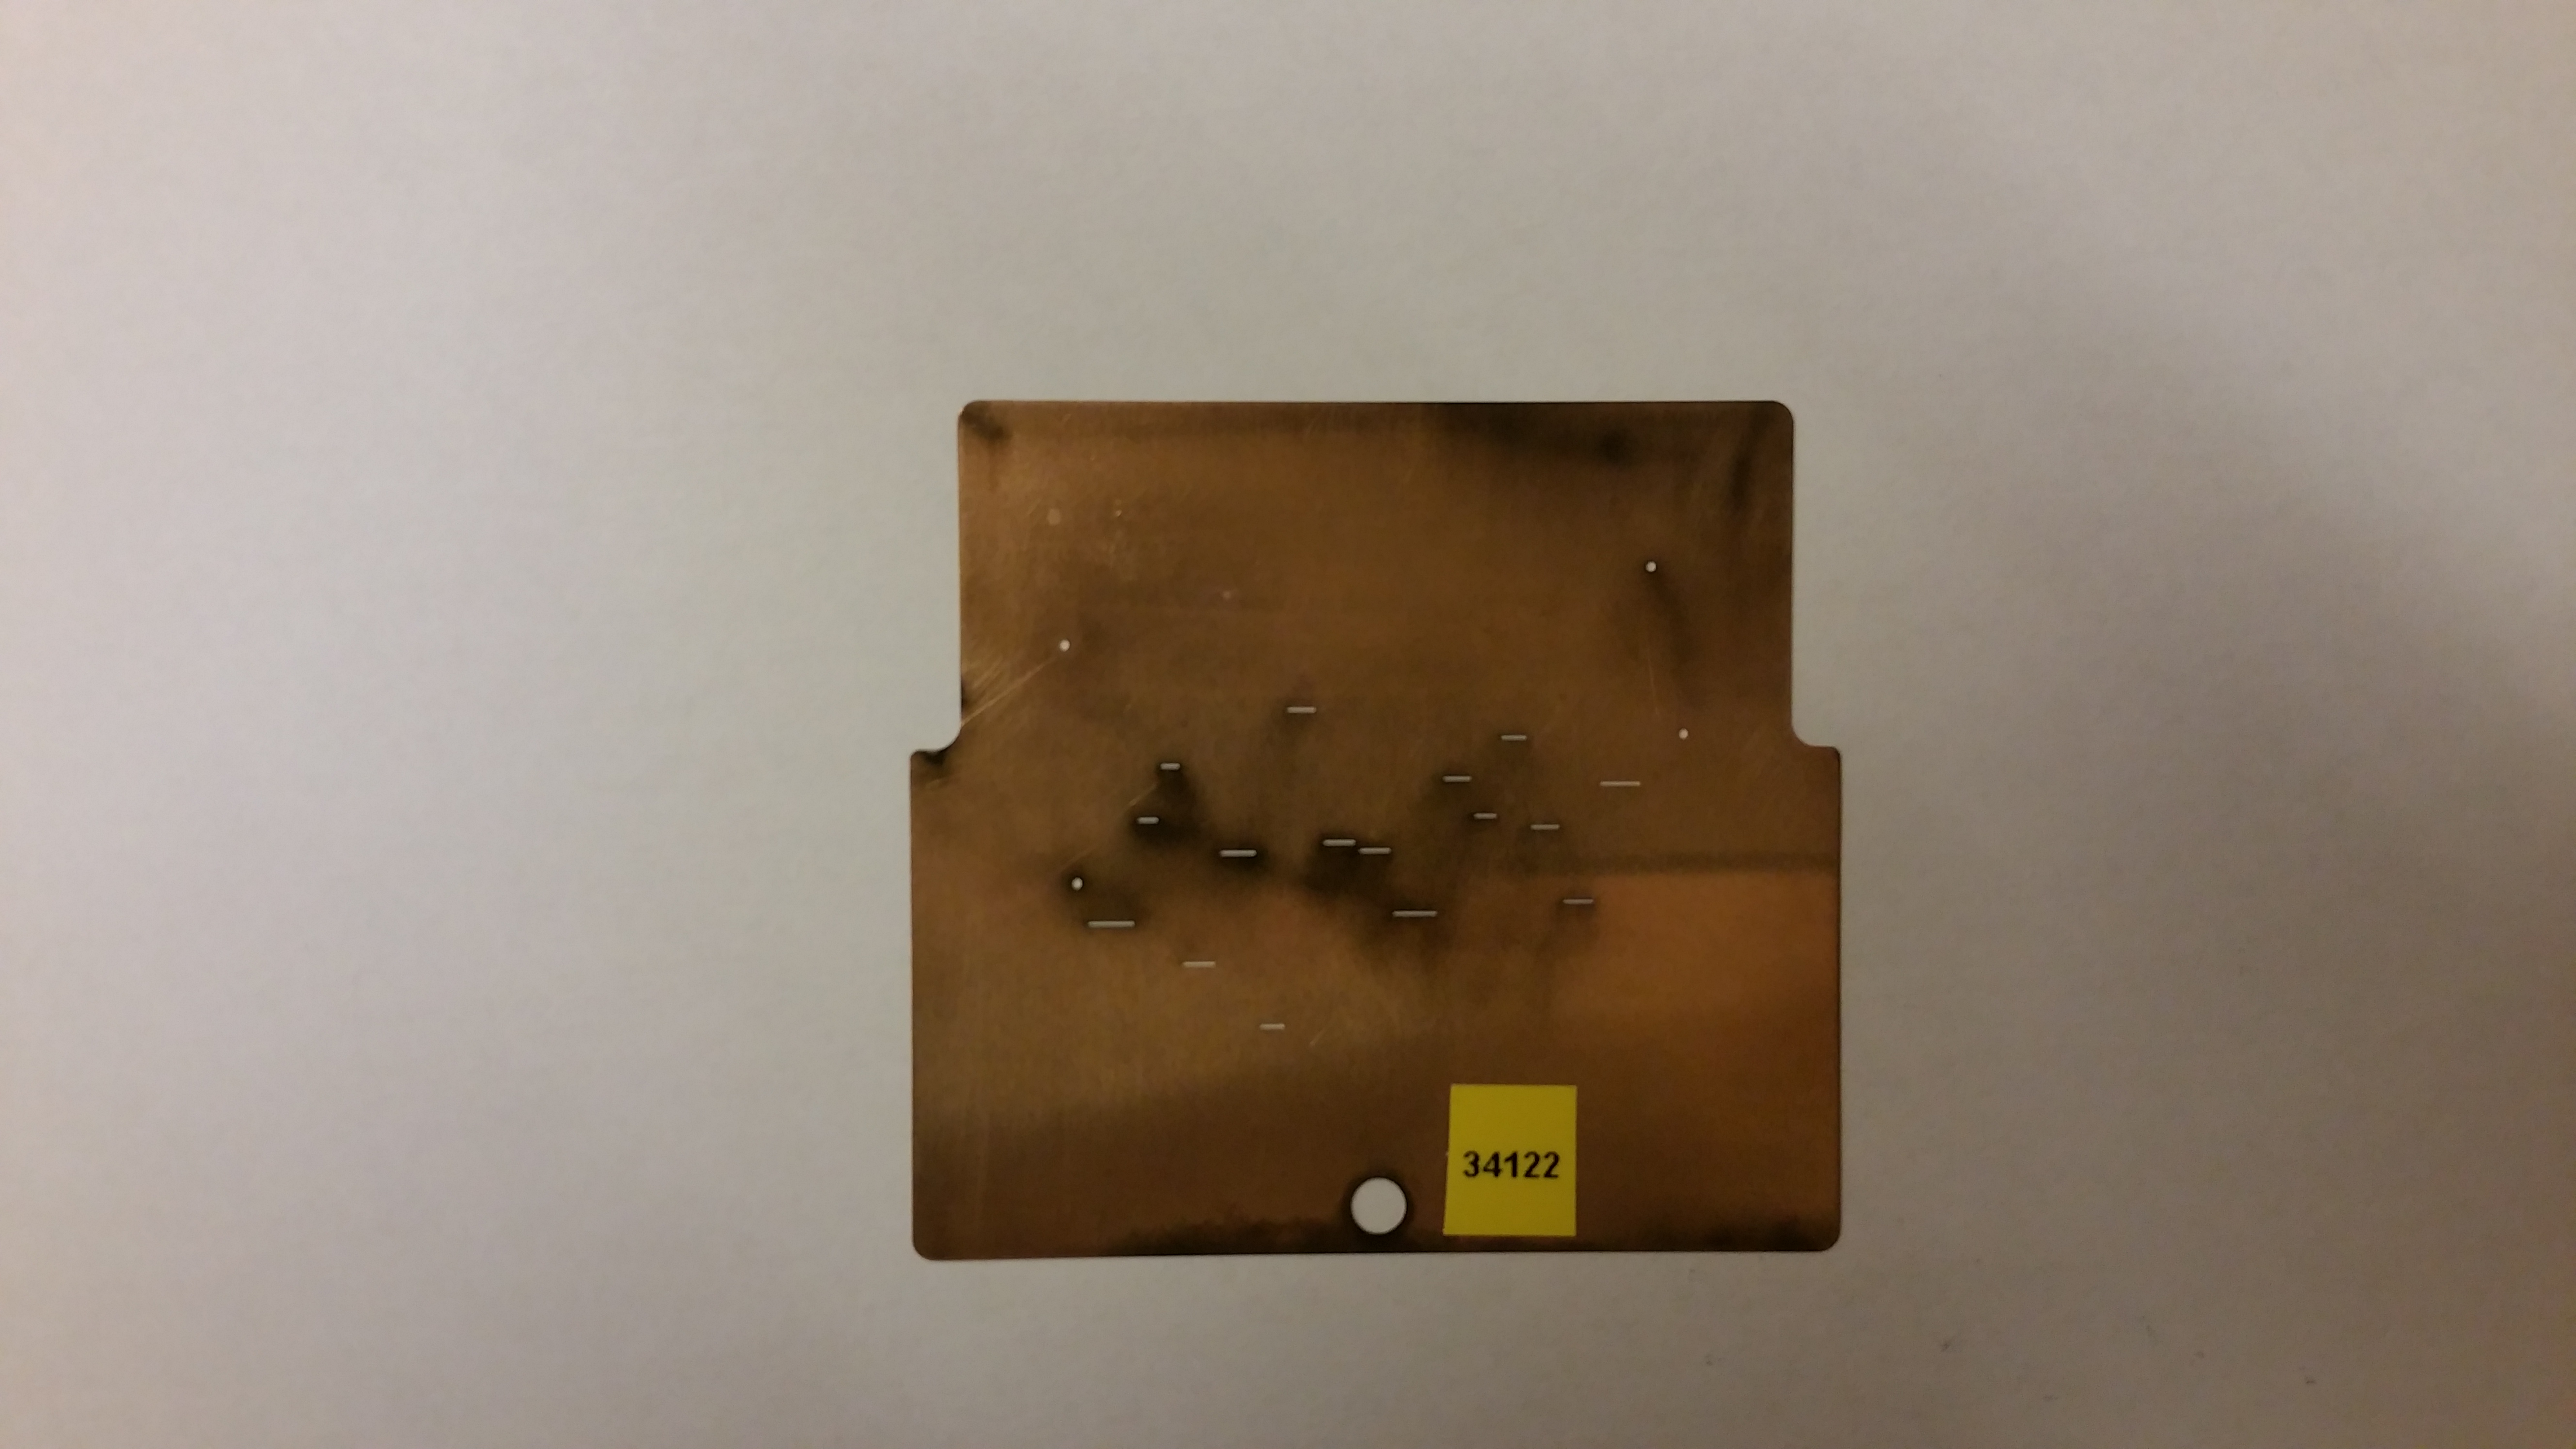
The new TNG masks are (phosphor bronze) metal, and importantly, much
thinner. They are so thin that the springs in the slitholders of the
wheel do not hold them in place.
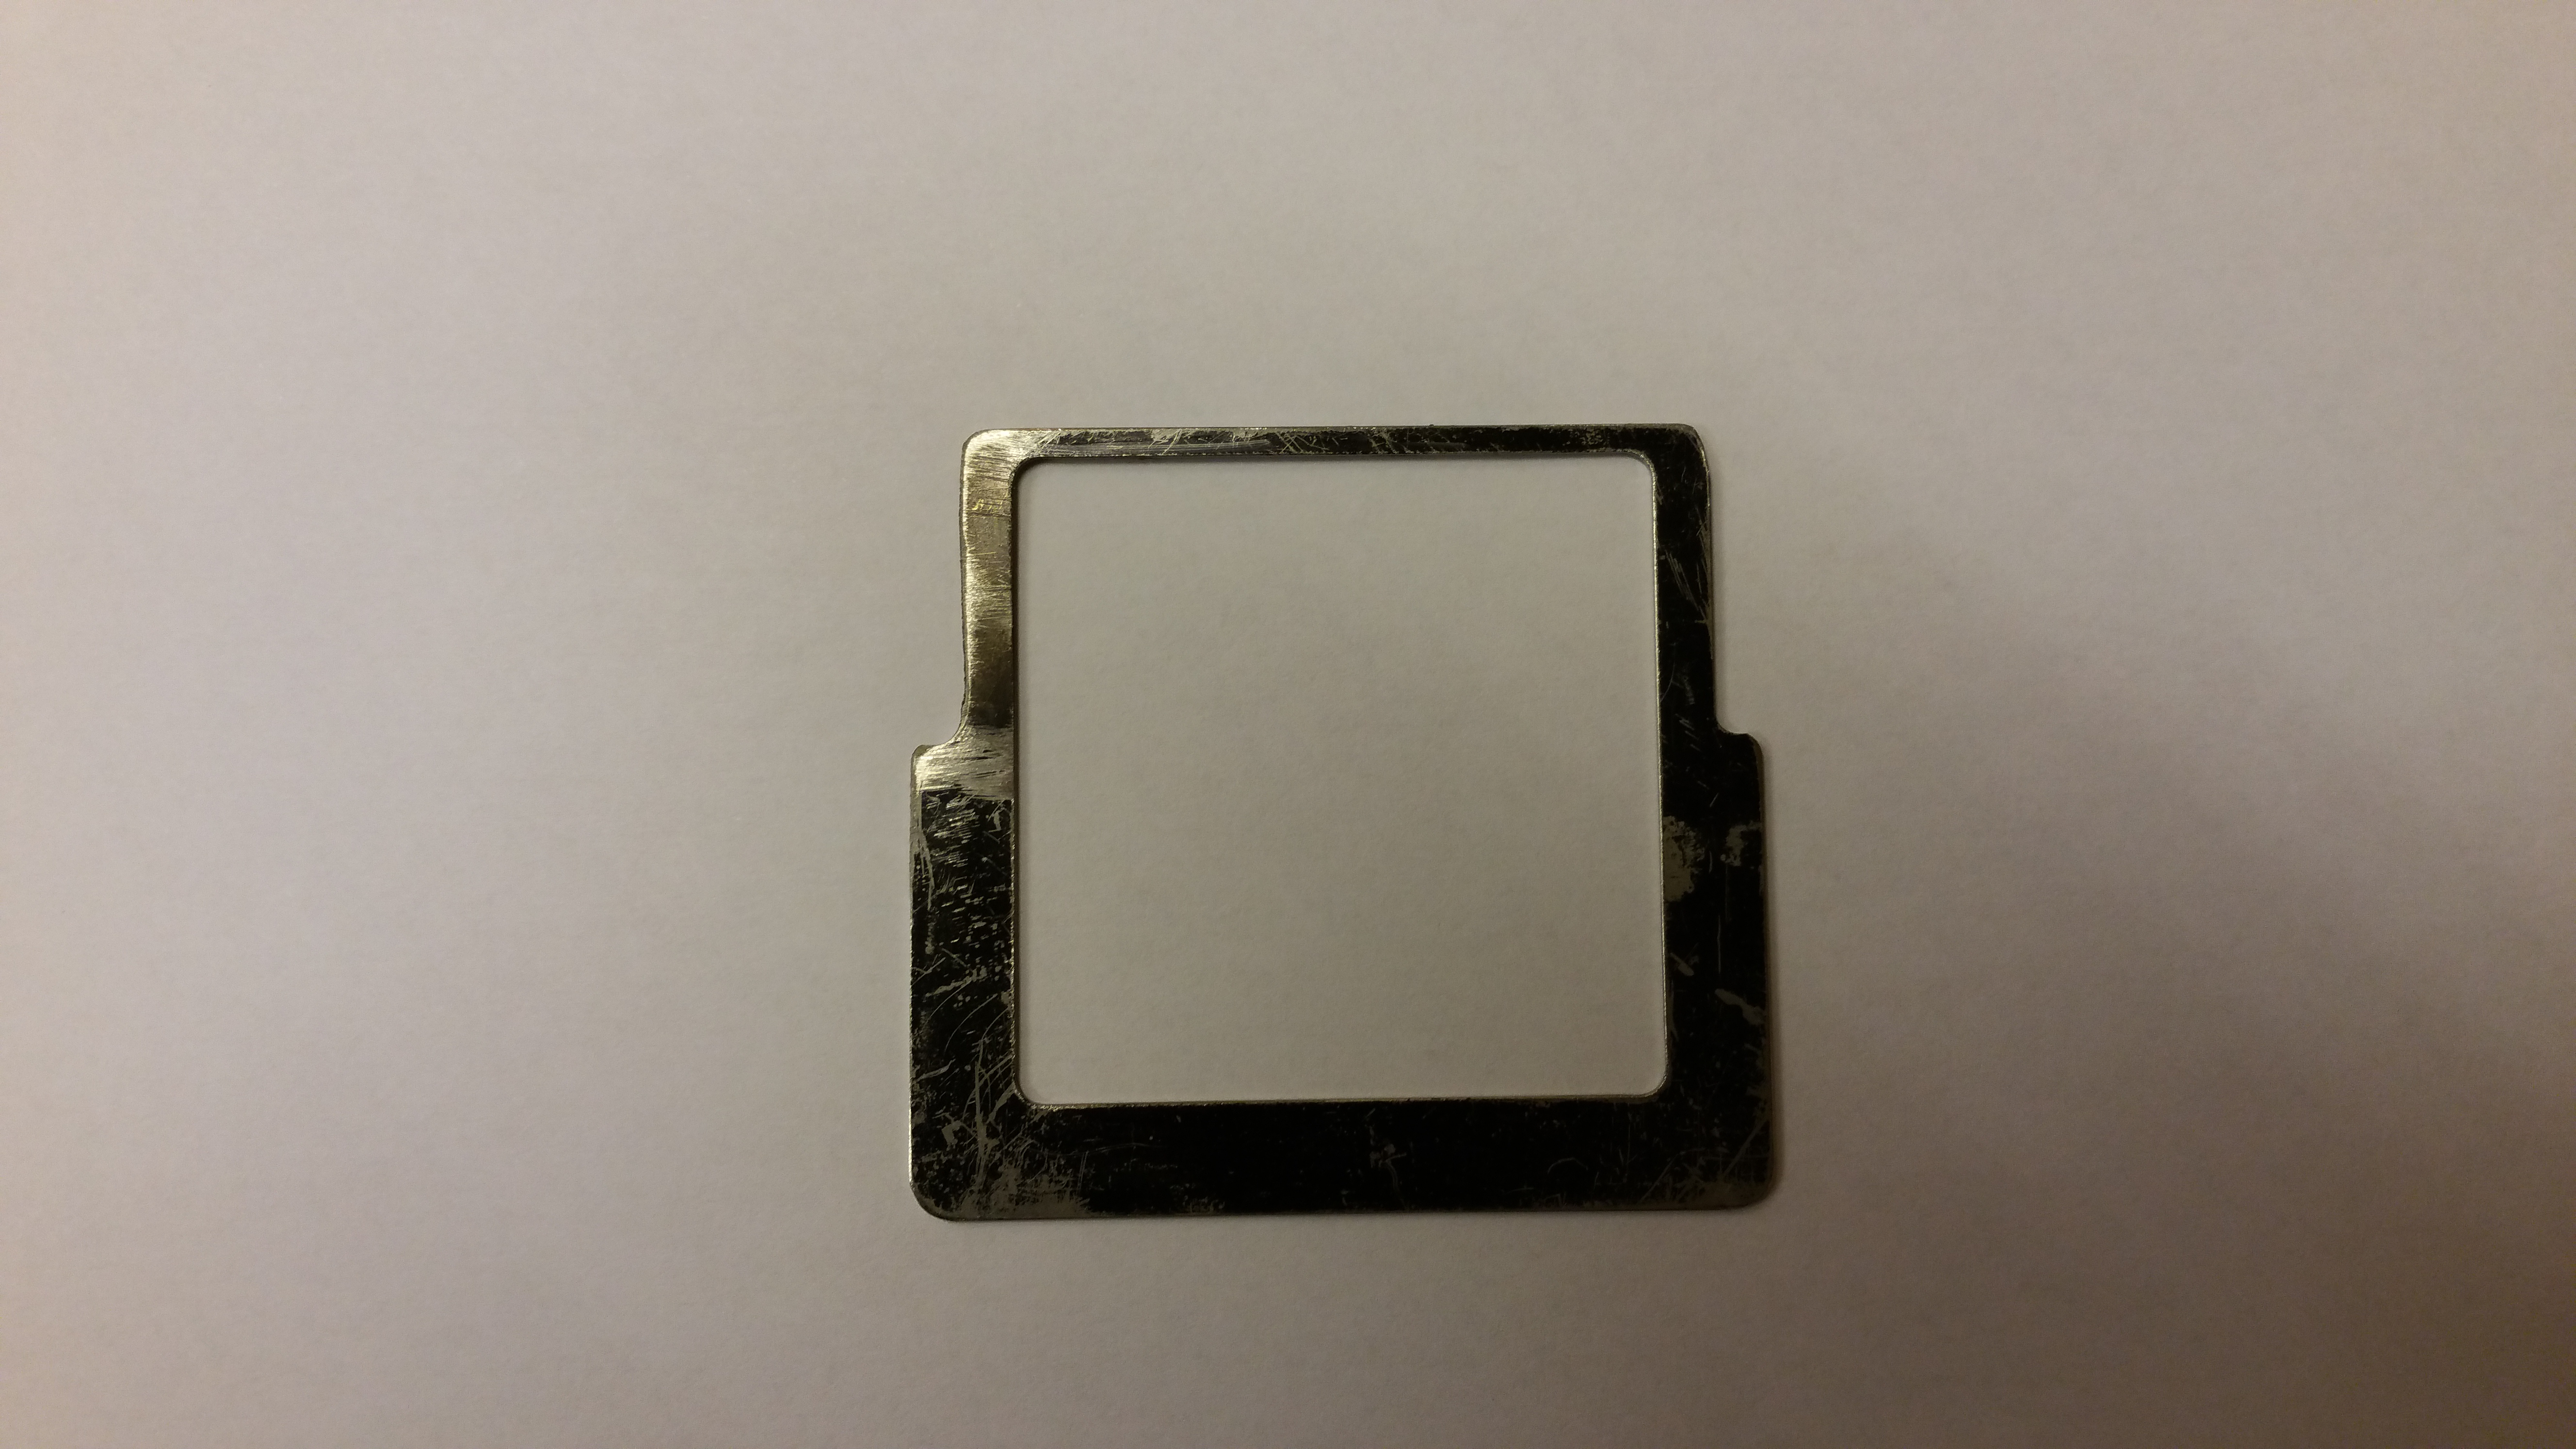
For this reason, we have made some special frames: these frames act as
spacers to make the Italian masks thicker; without them the masks may
fall out of the wheel, or may move while mounted. When mounting, the
spacer should go below the TNG-cut mask.
The spacer frames are in the MOS drawers of the carrousel. When
mounting please put one spacer and mask together, and slide them into
the slot together, with the mask touching the wheel and the spacer
facing down.
Normally the ID sticker is put on the side that should be facing
downwards when mounting the mask.
Black: Copenhagen mask;
Bronze: TNG-cut mask;
spacer for TNG mask.
How to align the masks with EditSetup
The main reason for aligning masks is to make sure all the slits and
fiducial holes are visible on the detector. If the mask is not
aligned, either the furthest left or the furthest right of the
slits/holes may fall off the CCD.
Staff only! Edit the wheel step number: the aperture-wheel step
number has to be offset -1400 steps from the nominal position, e.g. for
aperture wheel position #1 step value 40000 becomes 38600.
Note: in Dec 2013 i had to use the offset -1000 to get
the Copenhagen-made masks aligned with the detector, and all the
slits within the FOV.
Mount the calibration lens
Finally, mount the calibration lens in one of the FASU wheels. The
FASU calibration lens flattens the lamp-light distribution over the
full CCD, but care should be taken as to not introduce spectral
shifts. It needs to be checked in the first afternoon of the run if
the use of the lens is advisable or not; this may depend on the setup
(grism). It may be that without the lens the outer slits are not
properly illuminated.
The calibration lens is kept in one of the larger optics drawers on
the wall in the electronics room.
The calibration lens has an entry in the EditSetup program.
|