Transfer to Service Building
From the dome to the Service Building:
- Print a copy of this checklist and check off each item as it
is completed.
- Stop the NOTCam log-analyzer program. Refer to
the monitoring page for instructions on
doing it.
- Turn off the motor controller if it is running. The detector
controller should have been switched off already. Check!
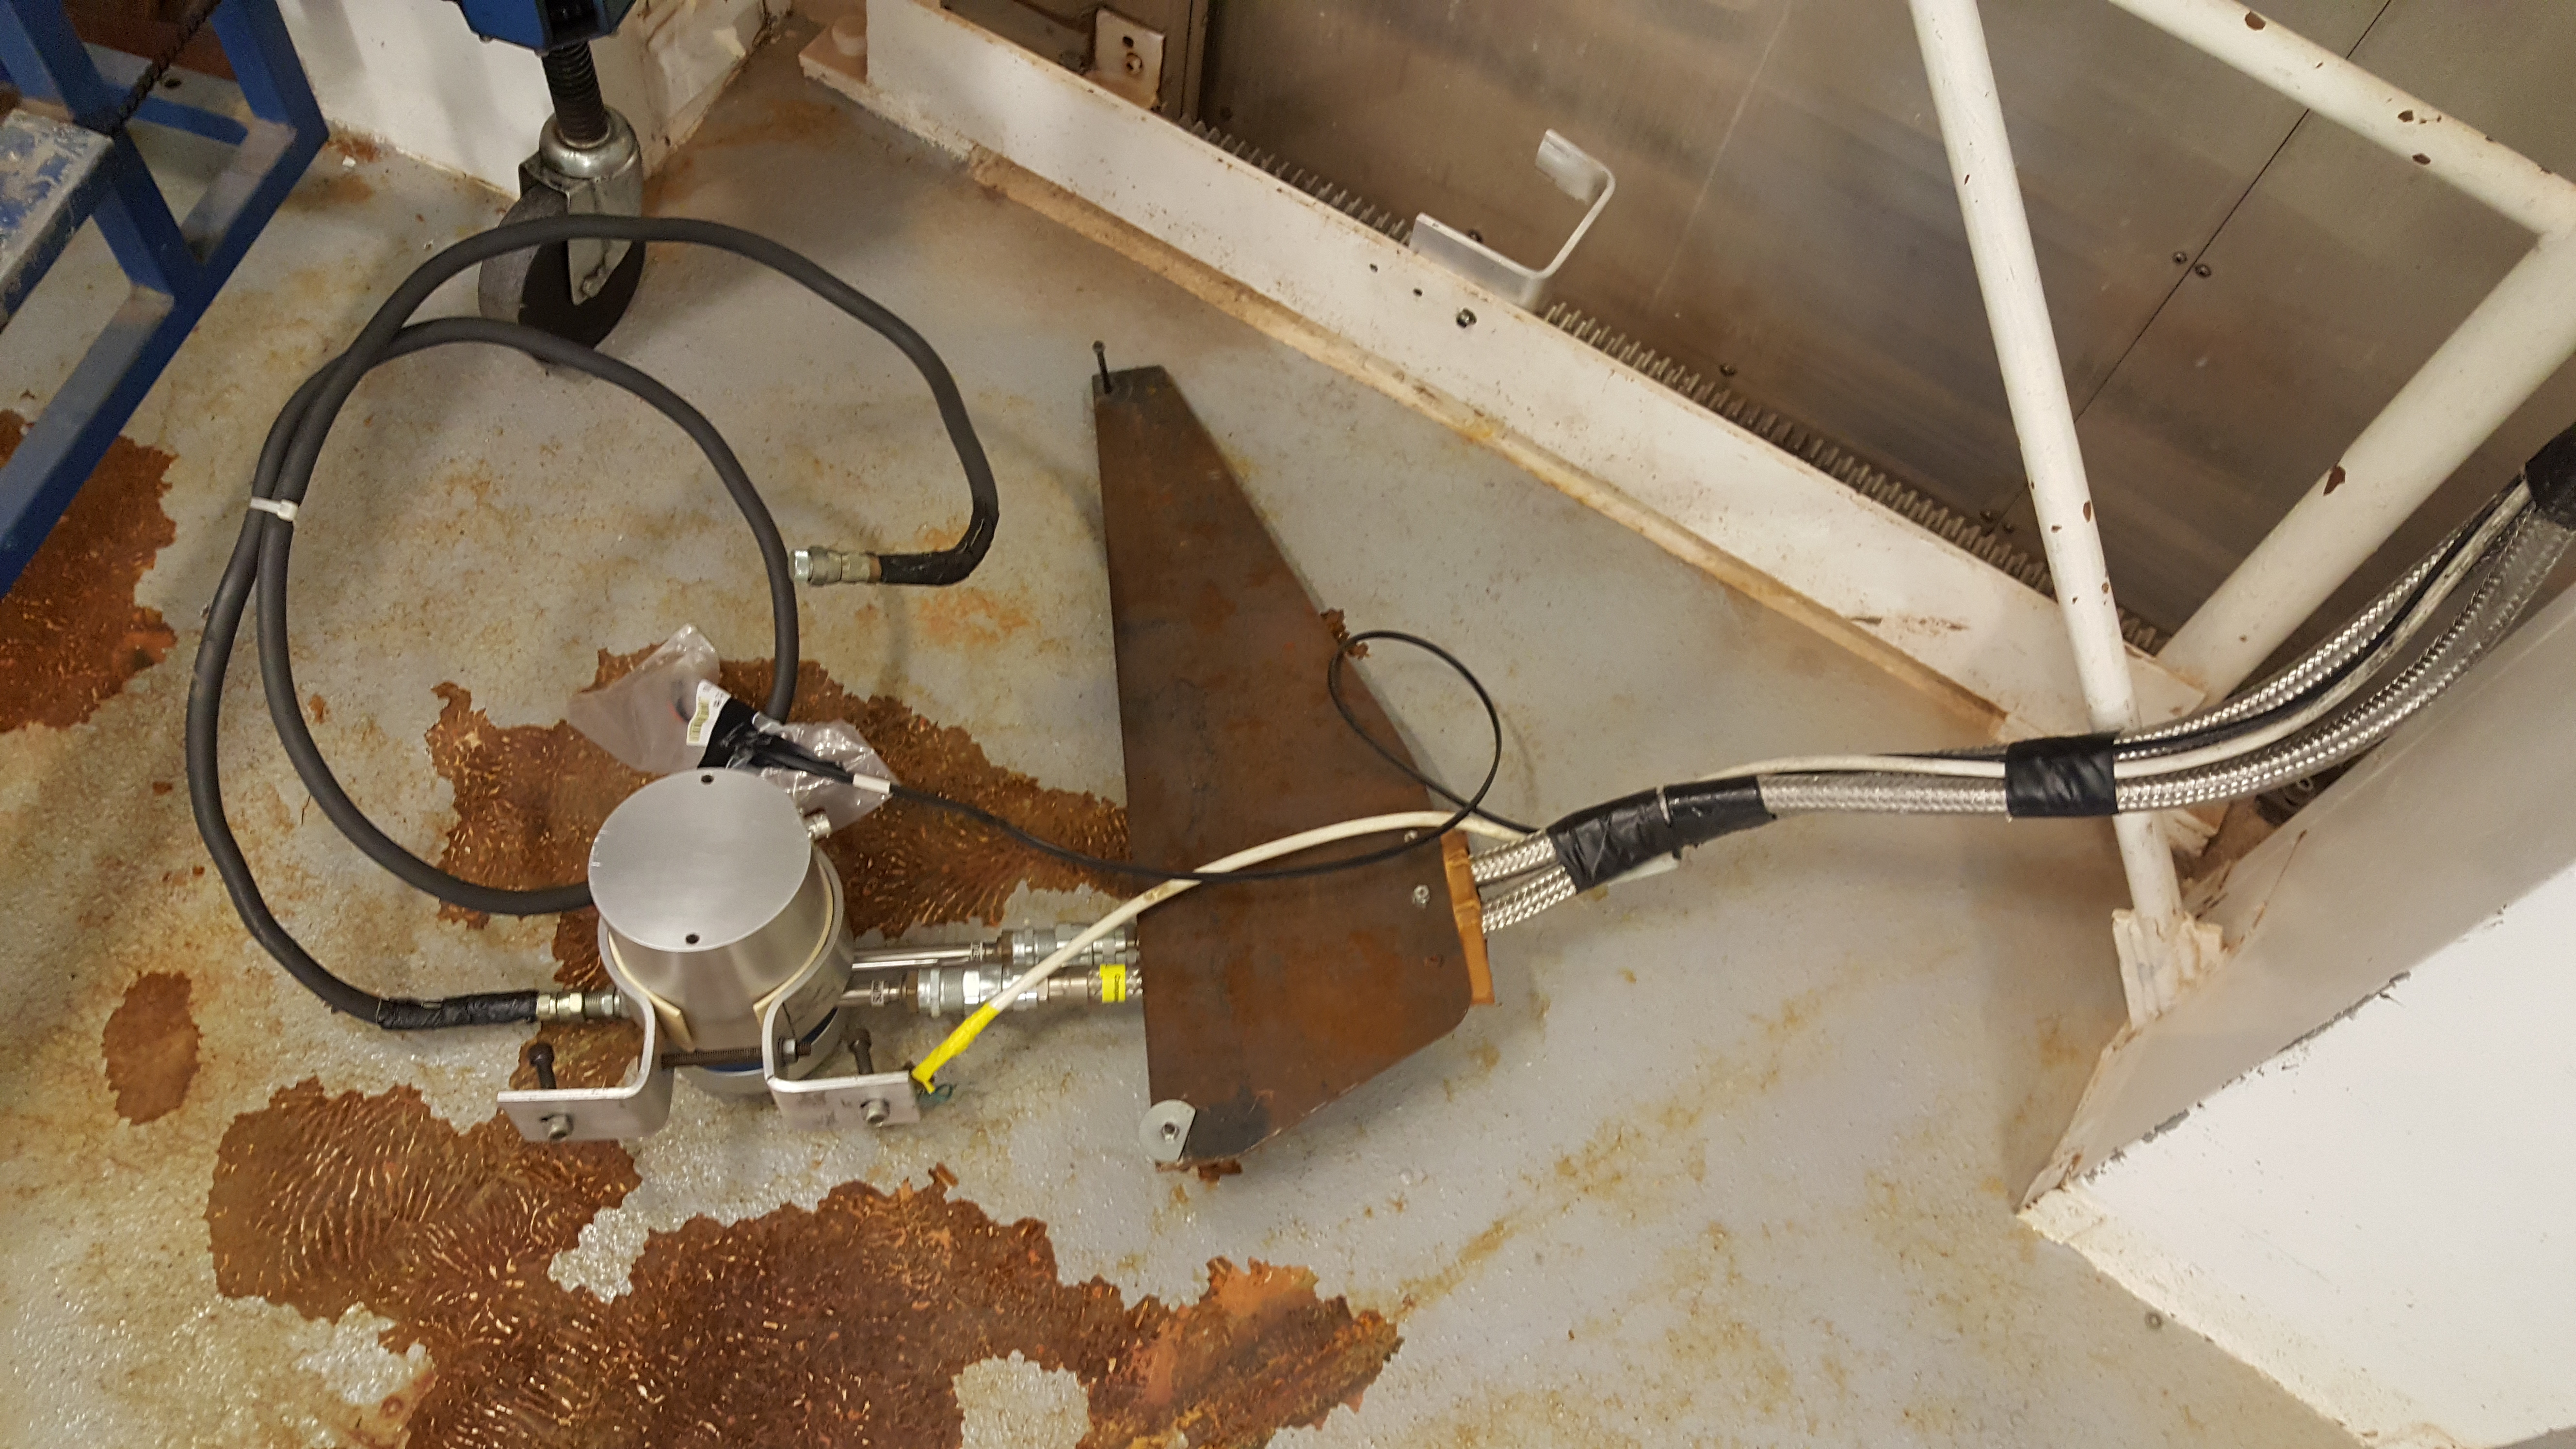
- Dismount the PTR. See image of the dismounted piece.

- Dis-connect cables.
- Dismount the motor controller from the frame, but not the array
controller.
- Place the NOTCam window-protector.
- Mount the lifting cross according to the marks.
- DO NOT PARK THE PICKUP TRUCK INSIDE THE SAFETY CHAIN UNTIL
THE TELESCOPE IS IN HOIST POSITION!
- Power on the telescope and turn to the hoist position.
- Set the telescope to alt 90 and power off.
- Insert the telescope altitude locking pin.
- Hit an emergency stop button.
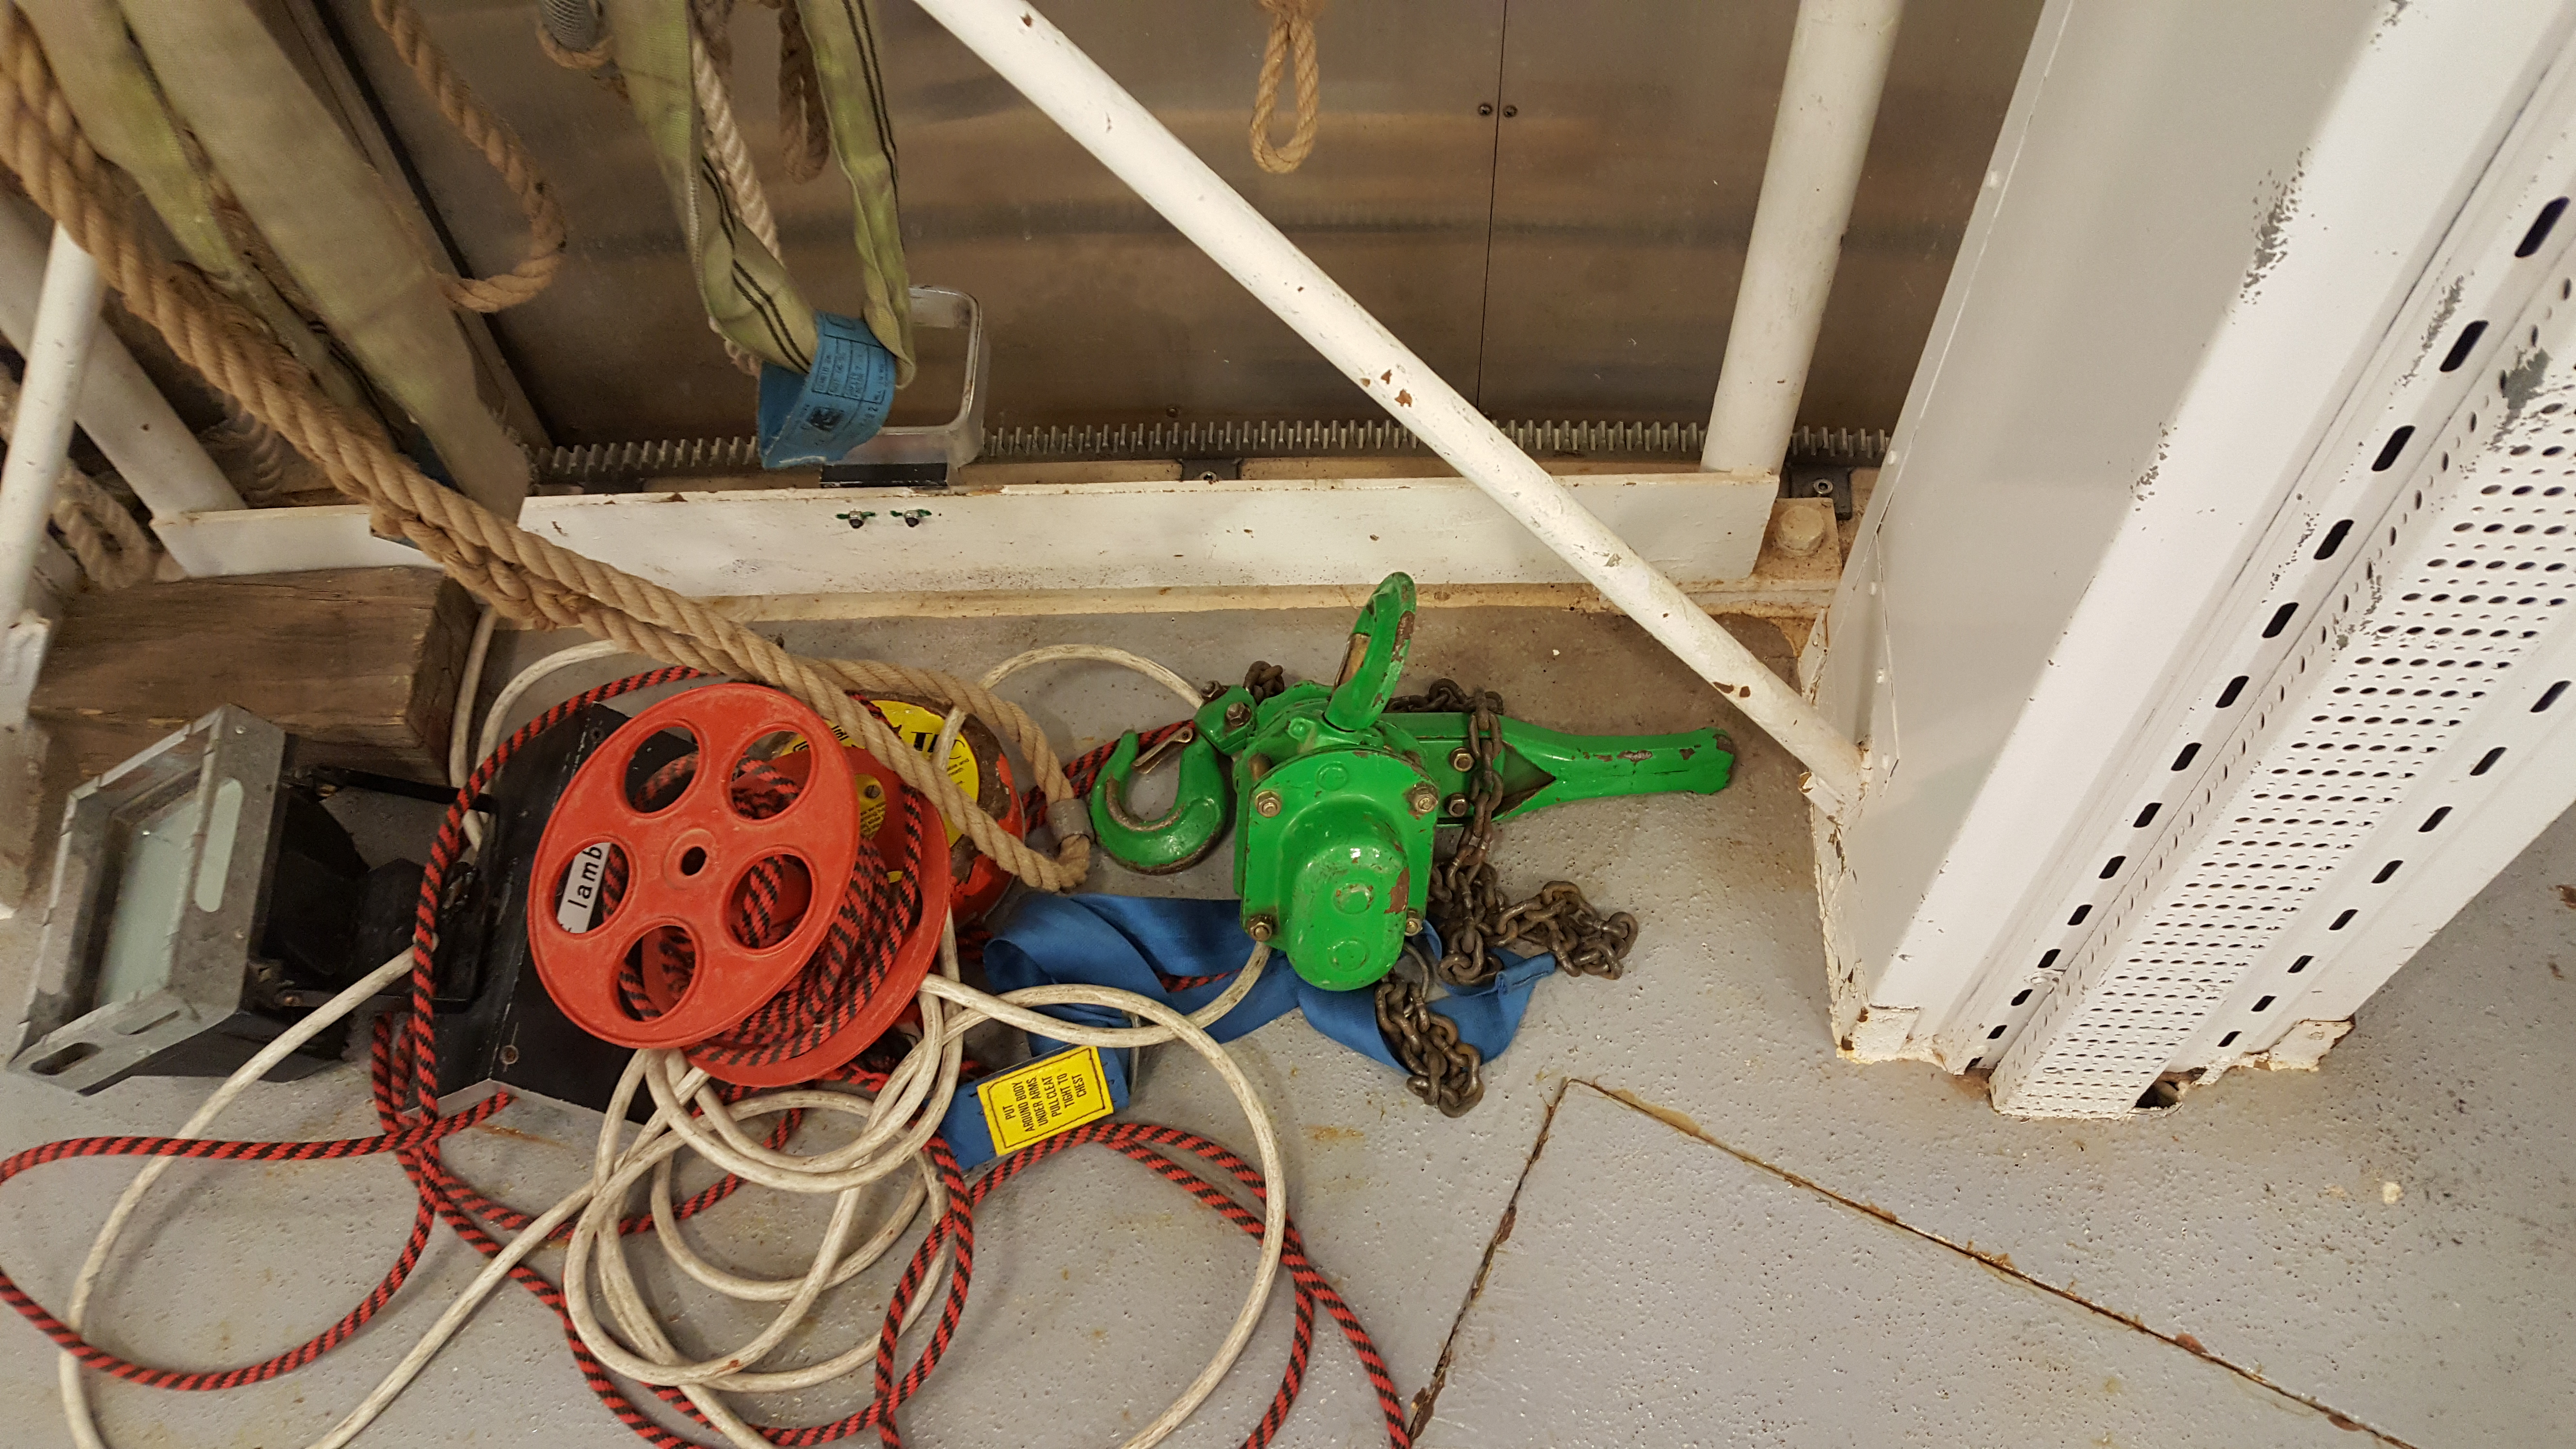
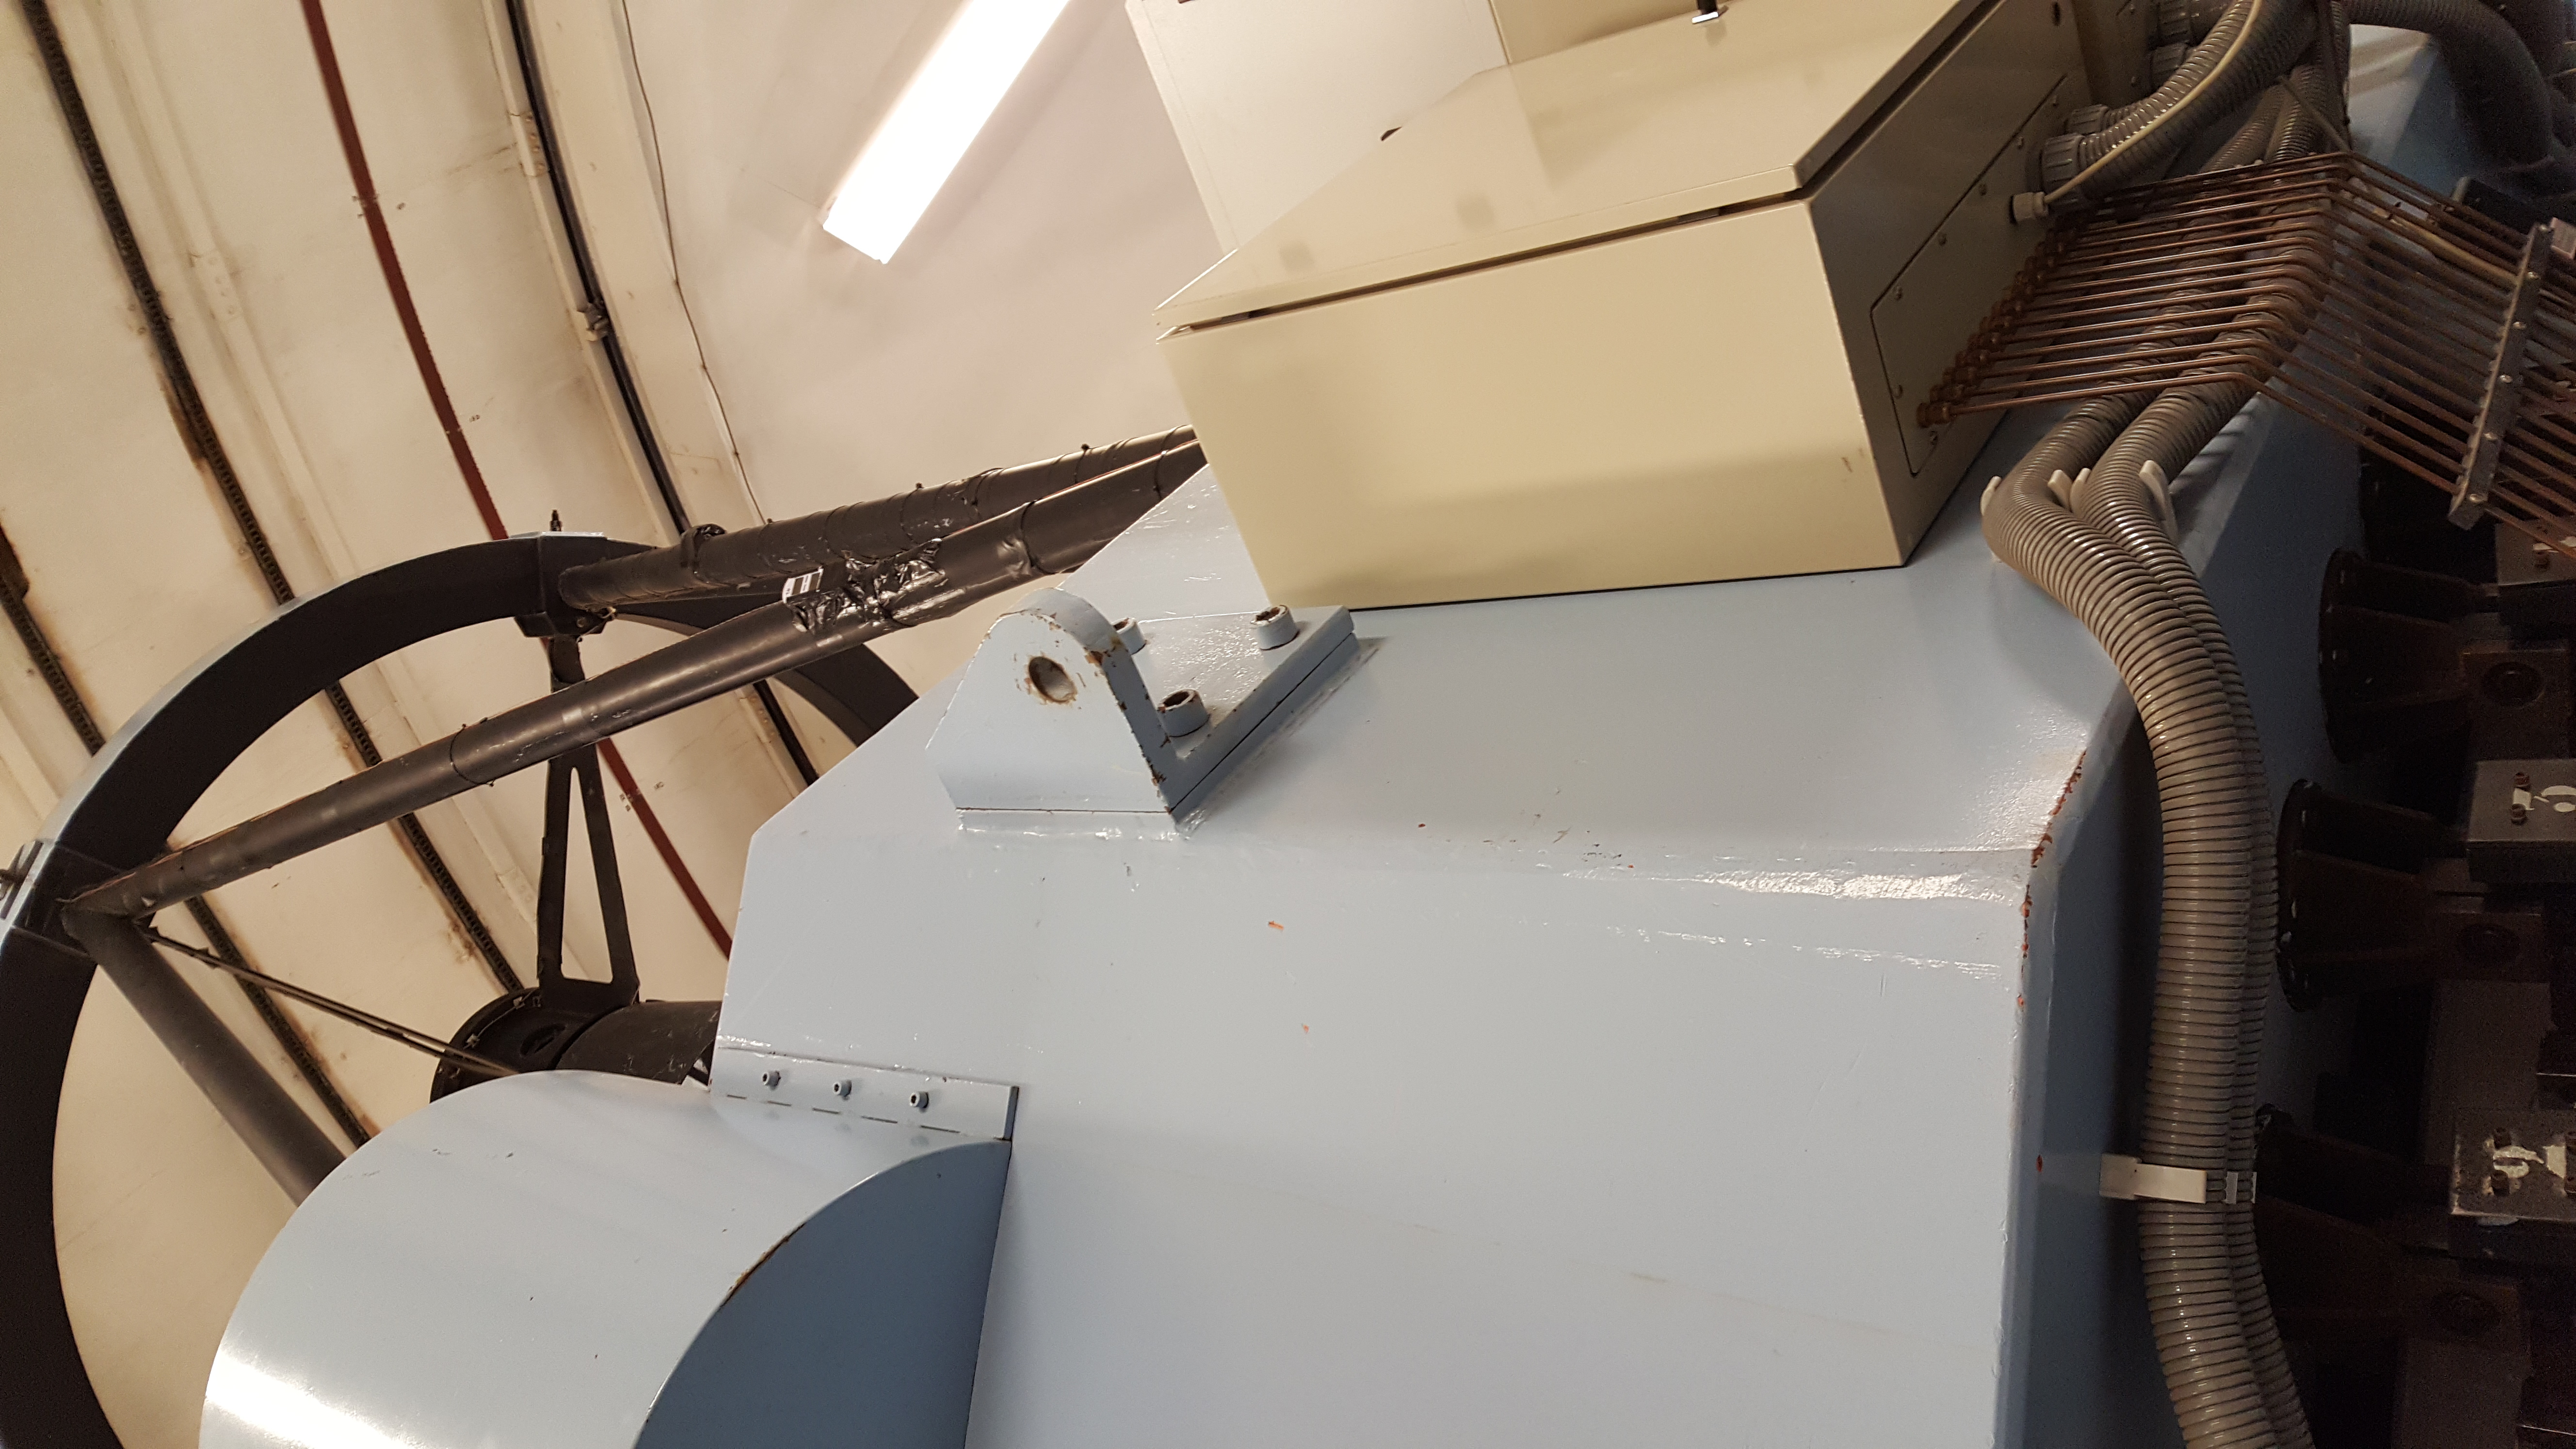
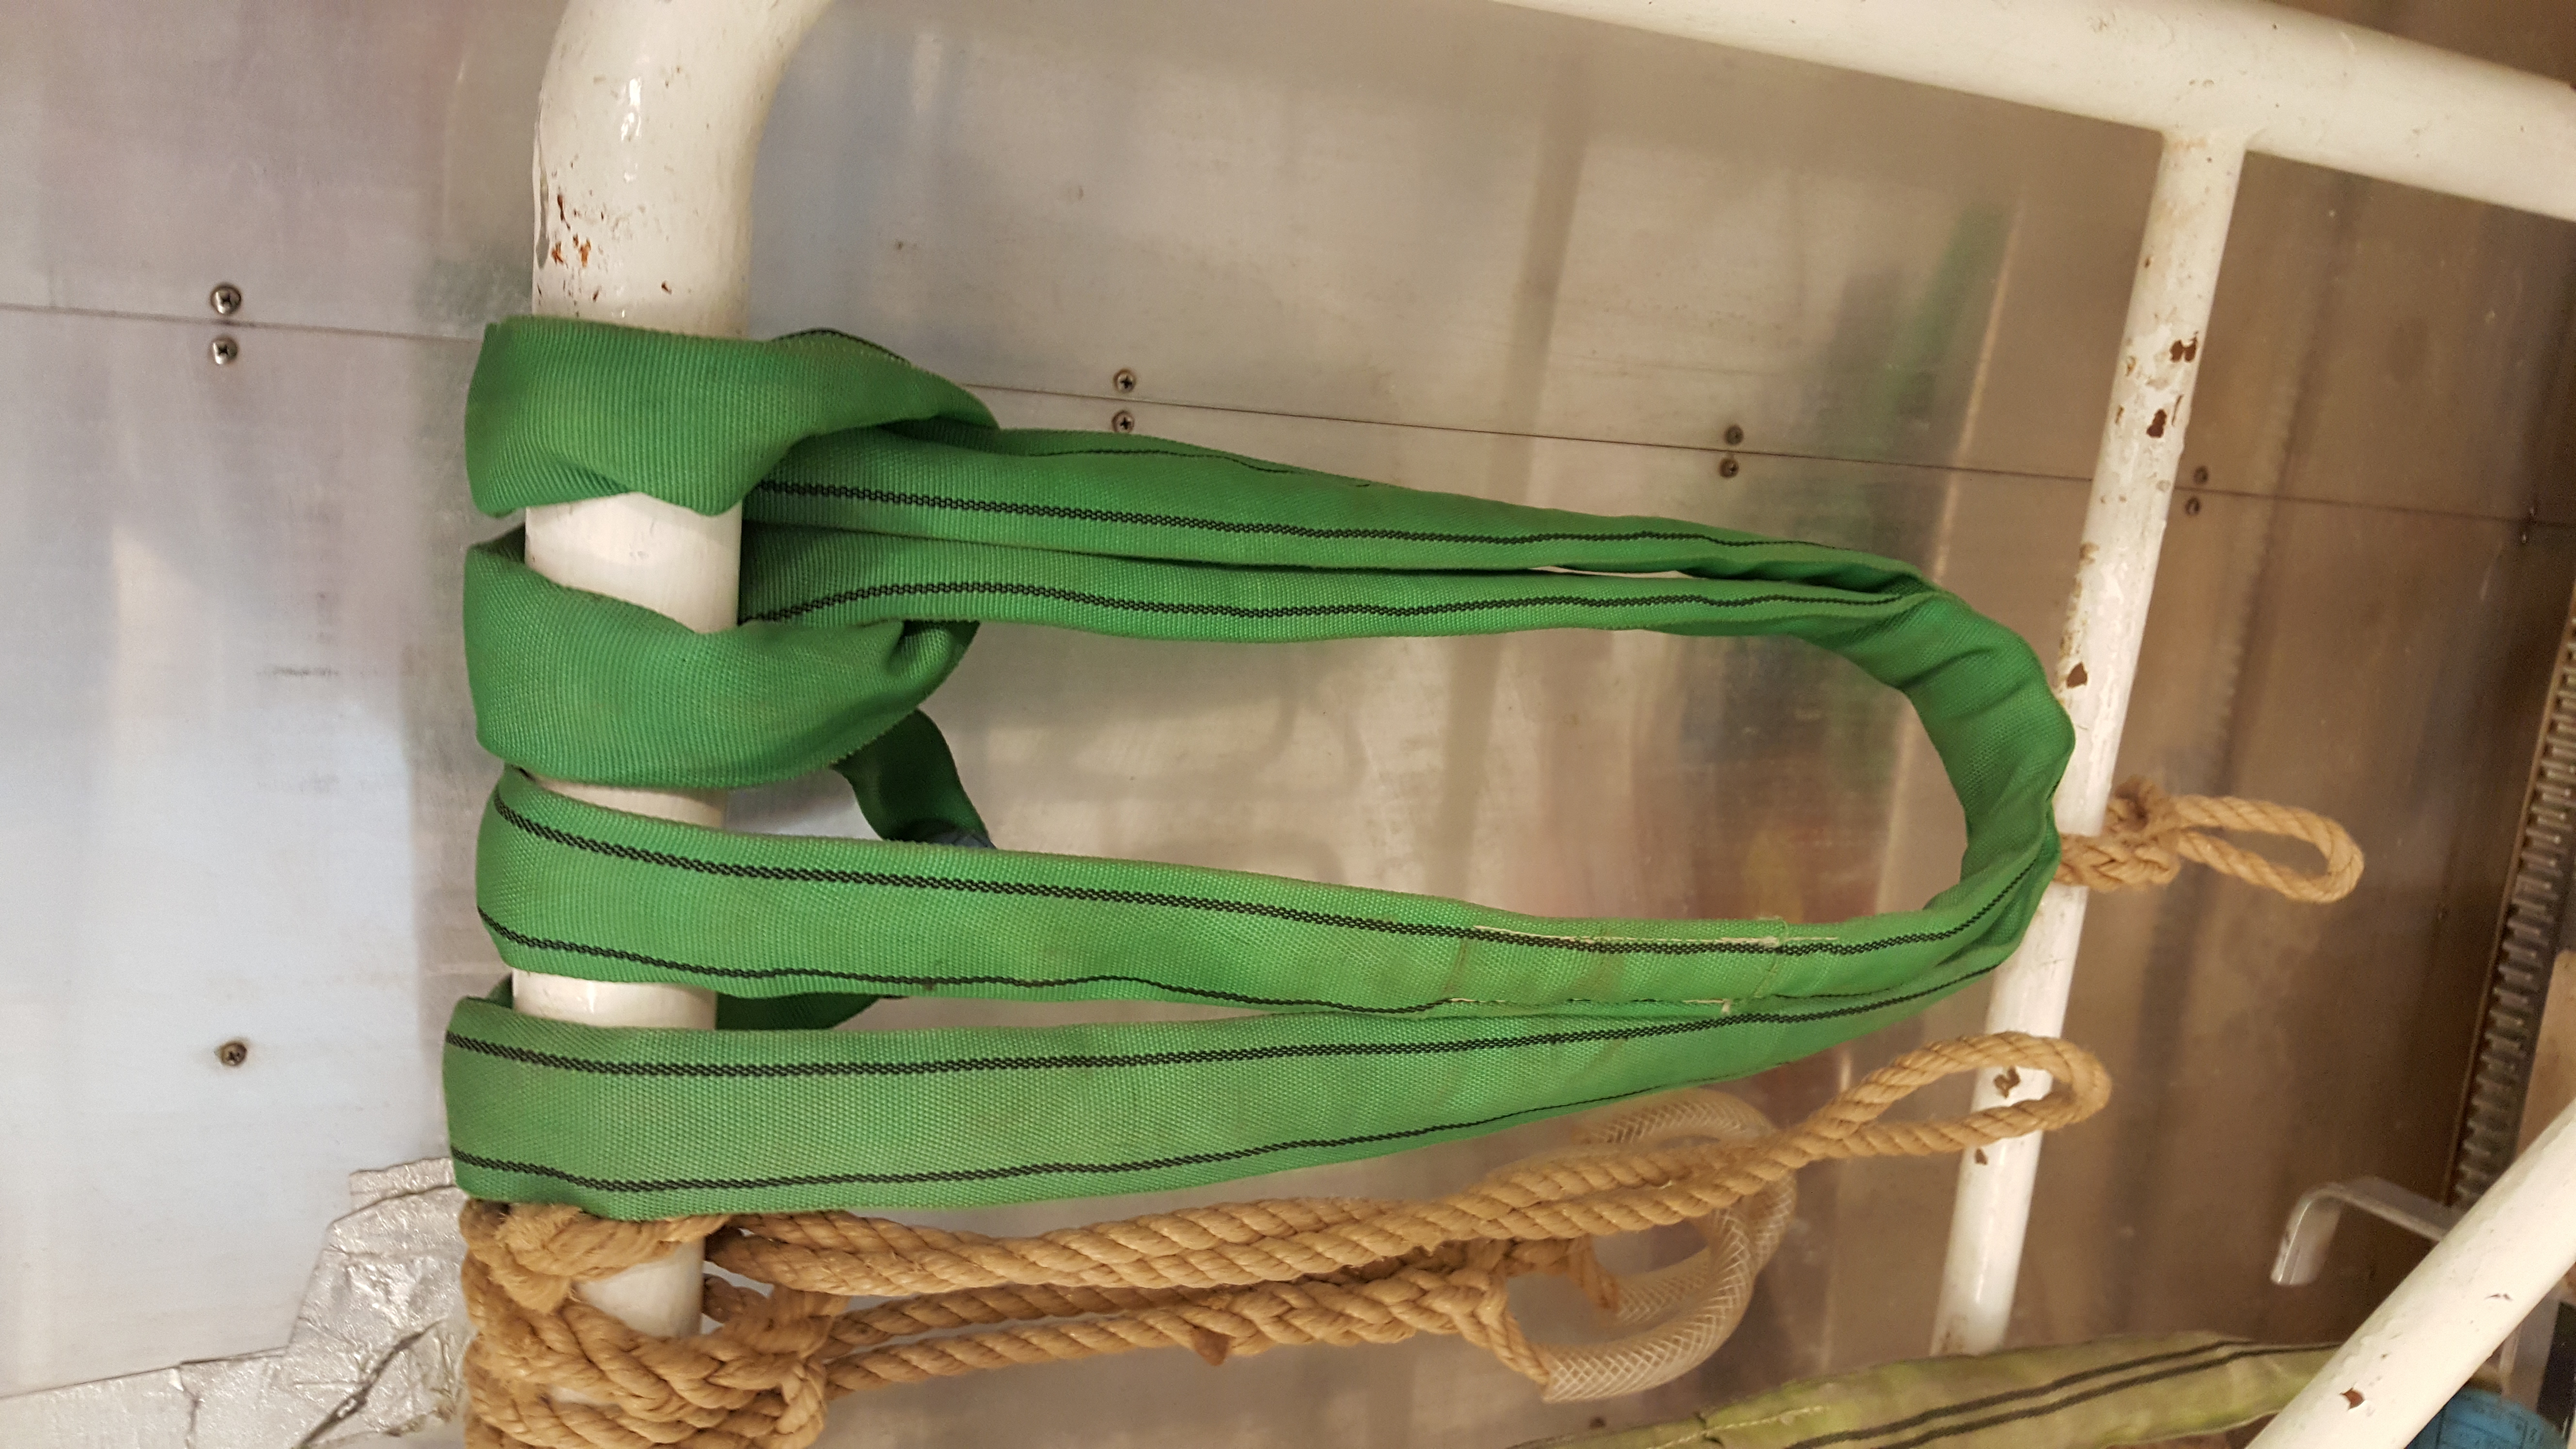
- Fix the green hand winch to the telescope
structure by the eye tab used to hold the primary when it is
removed for realuminising, using the longest green strap.
  
- Attach the hand winch hook to the cross-fitting mounted on the front
of the adaptor flange.
- With the green winch raise NOTCam off its trolley.
- Attach the hoist to the eyebolt on the side of NOTCam.
- Lift NOTCam with the hoist while gently letting out the hand winch
so that the instrument rotates by ninety degrees until the full
weight of the instrument is taken by the hoist.
- Detach the winch from the eyebolt.
- Remove the altitude locking pin.
- Remove the safety chain outside and reverse the pickup truck so
that NOTCam is placed immediately under the hoist hook.
- Place the white plastic foam on the back of the pickup.
- Lower NOTCam by slow speed only down to the pickup.
If the instrument starts to oscillate vertically, even slightly, then
STOP and wait for the oscillations to stop before continuing.
Under these circumstances, NOTCam is bouncing up and down on the
chain, stretching it slightly. Given that the instrument weighs about
200kg and the hoist is specified to carry 500kg max, these
oscillations could break the chain if allowed to continue.
- Slowly and carefully move NOTCam onto the back of the pick-up, squarely
on the white plastic foam with the adapter flange facing forward.
- Make sure NOTCam is properly secured on the pick-up with the broad yellow
strap and cinch.
- Detach the hoist and return it to the telescope.
- Get the motor controller from the dome and put in the pickup.
- Drive sloooowly to the Service Building.
- Park the pick-up outside the workshop.
- Place the hand crane in a (properly rotated) suitable
position behind the pickup.
- Fix NOTCam to the crane by the large eyebolt. Do not
use rope.
- Slowly and carefully lift NOTCam off the back of the pick-up, move
it into the mechanical workshop and lower it
onto the blue lifting table.
- Screw in the 4 long screws which fix NOTCam to its table.
- Unhook the hand-crane from the eyebolt.
- Dismount the adapter plate from NOTCam:
- Install a wire with integral bolt to the topmost mounthole in the
adapter flange. There is a wire large enough to accomodate the
hand-crane hook.
- Using the orange hand-crane, take the weight of the flange.
- Remove the eight bolts with their black-anodised tabs and
carefully seperate the flange from the rest of the instrument.
- Remove the cross with the lifting ring from the adapter
flange.
|

